Every germanium lens starts as a cylindrical ingot, and the first real manufacturing decision — how you cut that ingot into blanks — sets the ceiling for everything that follows. A blank with subsurface micro-cracks won’t survive grinding. A blank with uneven thickness will never meet the TTV spec no matter how good your lapping equipment is. And a blank cut with excessive kerf turns expensive germanium into swarf.
Germanium lens blank cutting is the foundation step of IR optics production. Get it right, and your downstream processes (centering, grinding, polishing, coating) run smoothly. Get it wrong, and you pay for it at every subsequent stage — in extra grinding time, lower yields, and rejected lenses.
This guide covers the complete germanium lens blank cutting process: from ingot preparation through the actual cut to post-cut inspection, with the specific parameters and methods we’ve validated across thousands of production runs.
What Is Germanium Lens Blank Cutting?
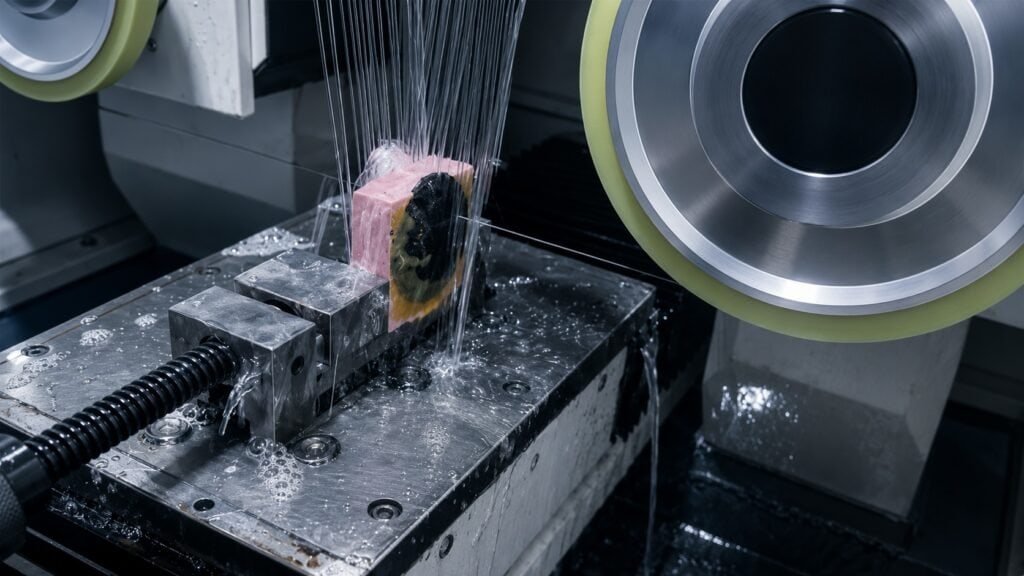
Germanium lens blank cutting is the process of converting a raw germanium crystal ingot into individual disc-shaped blanks ready for optical processing. Each blank becomes a single lens element after grinding, polishing, and AR coating.
The process typically involves two distinct cutting operations:
- Contour cutting — extracting cylindrical or shaped preforms from the ingot cross-section
- Slicing — cutting the preform into individual disc blanks of the required thickness
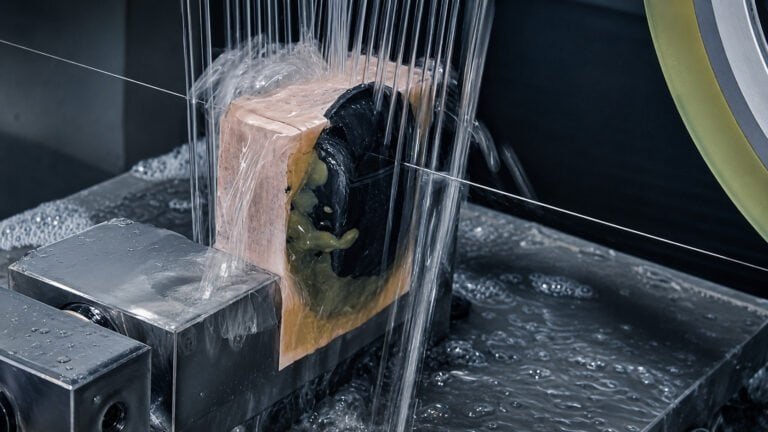
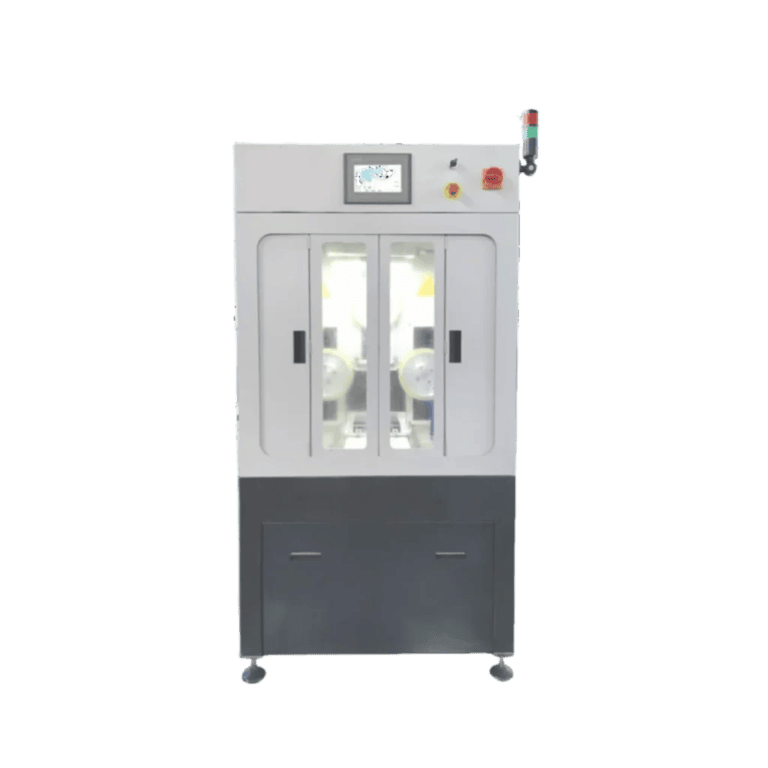
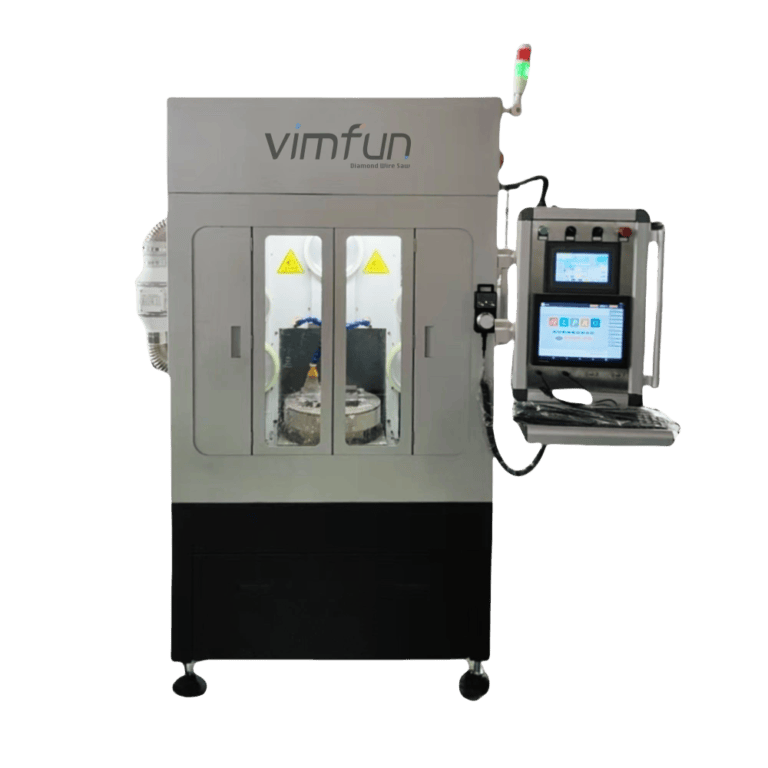
Both operations can be performed on the same Diamantdrahtsäge machine with different fixturing and parameters, which is a significant advantage over traditional methods that require separate machines for each step.
Why Germanium Blank Cutting Is Harder Than Other Optical Materials
If you’ve cut BK7 glass or fused silica, you might assume germanium is similar. It’s not. Three properties make germanium lens blank cutting uniquely challenging:
Crystal Cleavage
Germanium is a single crystal with diamond-cubic structure. It cleaves preferentially along {111} planes. During cutting, if the wire or blade generates asymmetric force — even briefly — the crystal can fracture along these planes rather than being cut where you want it. The result: a ruined blank and wasted material worth $100+ per piece.
This is why rigid machine construction and vibration isolation matter more for germanium than for amorphous materials like glass.
Extreme Material Cost
Optical-grade germanium currently trades at $1,800–$2,400 per kilogram. A standard 200 mm diameter, 200 mm long ingot weighs 3–4 kg, making each ingot worth $6,000–$10,000. Every millimeter of unnecessary kerf loss is money literally ground to dust.
The economics are simple: a traditional coring machine cuts with a 5–10 mm kerf. A diamond wire saw cuts the same profile with a 0.5–0.6 mm kerf. On a single 200 mm ingot, that kerf difference saves $200–$600 in raw material — and the savings compound across every ingot you process.
Thermal Sensitivity
Germanium’s infrared transmission degrades at elevated temperatures, and its absorption coefficient increases with heat. A cutting process that generates localized heating at the cut surface alters the near-surface crystal structure, reducing IR transmission in the affected zone. This damaged layer must be removed during subsequent grinding, adding time and cost.
Cold cutting methods — specifically diamond wire saws operating with mineral oil coolant — keep the germanium at near-ambient temperature throughout the cut, preserving full optical quality right from the blank stage.
The Two-Stage Blank Cutting Process
Stage 1: Contour Cutting (Ingot to Preform)
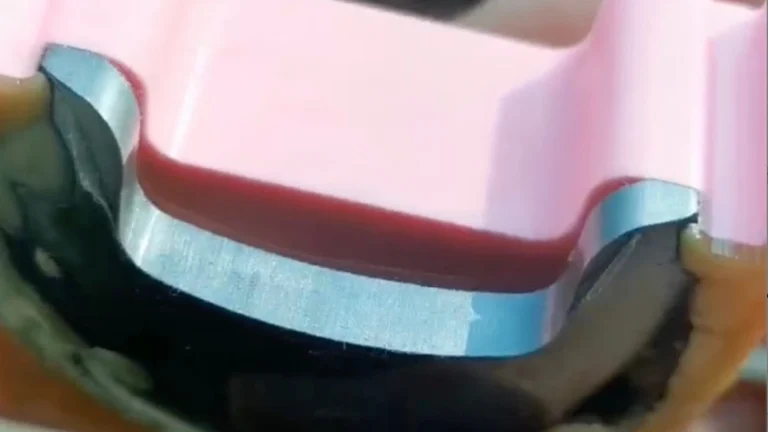
The first cut extracts the lens preform shape from the ingot cross-section. For round lenses, this means cutting a cylinder of the target diameter from the larger ingot. For non-standard shapes — crescents, rectangles, or custom profiles — the wire follows a CNC-programmed path.
Contour cutting parameters (validated for germanium):
| Parameter | Bereich | Anmerkungen |
|---|---|---|
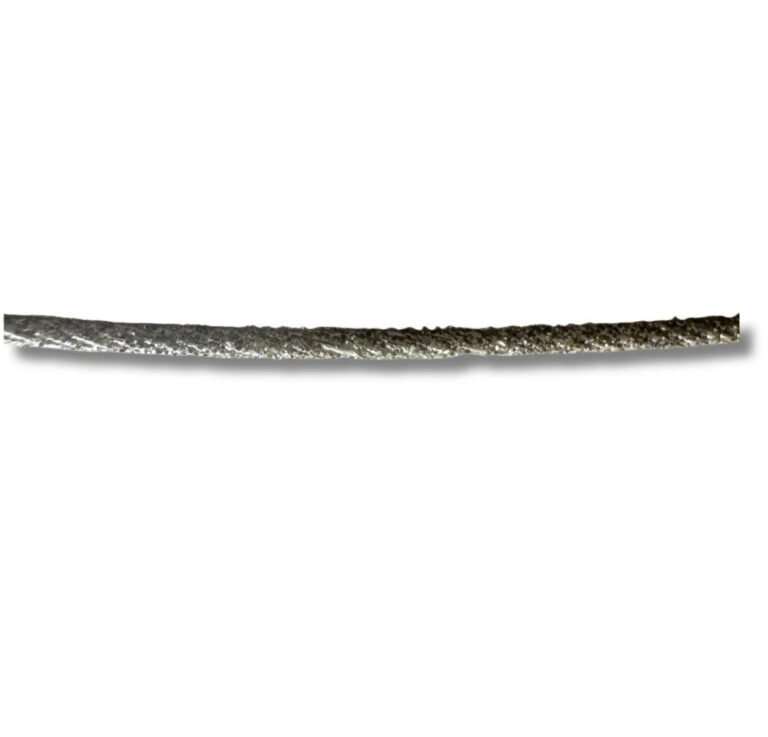
| Drahtdurchmesser | 0.35–0.50 mm | Thicker wire for ingots >100 mm |
| Wire tension | 110–140 N | Higher tension = straighter cut path |
| Wire speed | 40–60 m/s | Unidirectional, closed-loop |
| Feed rate | 4–8 mm/min | Slower than slicing due to curved path |
| Kühlmittel | Weißes Mineralöl | Continuous flow, both entry and exit sides |
| Kerf width | 0.5–0.6 mm | vs. 5–10 mm for coring machines |
The contour cut is the slower of the two stages because the wire follows a curved path around the preform perimeter. For a standard 50 mm diameter preform, expect approximately 26 minutes of cutting time on an SGI 40 machine.
Key quality factor: Wire tracking accuracy during contour cutting directly determines the preform’s roundness. Our SGI 40 achieves positional accuracy of ±0.03 mm, which means the preform requires minimal material removal during the subsequent centering operation.
Stage 2: Slicing (Preform to Blanks)
Once you have a cylindrical preform, the next step is slicing it into individual disc blanks. This is a straight-through cut — simpler geometry than contour cutting, but with its own critical parameters.
Slicing parameters (validated for germanium):
| Parameter | Bereich | Anmerkungen |
|---|---|---|
| Drahtdurchmesser | 0.35–0.42 mm | Thinner wire for blanks ≤ 3 mm thick |
| Wire tension | 100–130 N | Slightly lower than contour cutting |
| Wire speed | 30–50 m/s | Lower than contour for better control |
| Feed rate | 10–20 mm/min | Straight cut through known diameter |
| Oberflächenrauhigkeit | Ra 0.6–1.2 μm | Fine enough for direct grinding |
| TTV (50 mm blank) | 8–15 μm | Comparable to quality ID saw cuts |
Slicing is faster because the wire travels a straight path. A single slice through a 50 mm preform takes approximately 5 minutes. The critical variable here is thickness consistency — each blank must meet the target thickness ±0.05 mm to avoid excessive stock removal during grinding.
Edge chipping control: With properly tuned parameters, edge chipping on germanium blanks stays below 0.1 mm. Compare this to coring machine methods where edge damage of 0.3–0.8 mm is typical, requiring 1–2 additional grinding passes to clean up.
Coring Machine vs. Diamond Wire Saw: The Real Comparison
The traditional germanium lens blank cutting workflow uses a coring machine to extract the preform, followed by an ID (inner diameter) saw for slicing. The diamond wire saw approach replaces both machines with a single unit. Here’s how they compare:
| Factor | Coring + ID Saw | Diamant-Seilsäge |
|---|---|---|
| Equipment cost | $85,000–$120,000 (combined) | $31,000–$39,000 |
| Kerf loss (contour) | 5–10 mm | 0.5–0.6 mm |
| Edge chipping | 0.3–0.8 mm | < 0.1 mm |
| Machines required | 2 separate machines | 1 machine (both operations) |
| Floor space | 2 stations | 1 station |
| Operator training | 2 machine types | 1 machine type |
| Shape flexibility | Circular only (coring) | Any CNC profile |
| Material savings per ingot | Baseline | $200–$600 per 200 mm ingot |
The wire saw’s economic advantage grows with production volume. At 50 ingots per month, the annual material savings alone exceed $240,000 — enough to pay for several machines.
Post-Cut Quality Inspection
Every germanium blank should be inspected before moving to the grinding stage. Sending a defective blank downstream wastes grinding and polishing time. Here’s the inspection checklist we use:
Dimensional checks:
- Diameter: ±0.1 mm of target (digital caliper)
- Thickness: ±0.05 mm of target (micrometer)
- TTV: < 15 μm for 50 mm blanks (thickness gauge, 5 points)
Surface quality checks:
- Surface roughness: Ra < 1.2 μm (profilometer or visual comparison)
- Edge chipping: < 0.1 mm (10x loupe or optical microscope)
- Cleavage cracks: None visible under 10x magnification
- Surface contamination: No oil residue after cleaning (visual inspection under collimated light)
Crystal quality checks:
- No visible fracture lines or cloudiness
- IR transmission spot check on representative samples (optional but recommended for high-value applications)
Blanks that pass inspection go directly to the centering stage. Those with minor edge chips may be salvageable if the chip is within the grinding allowance. Blanks with cleavage cracks or excessive TTV are rejected — it’s cheaper to scrap a blank at this stage than to discover the defect after grinding and polishing.
Common Mistakes That Ruin Germanium Blanks
After years of cutting germanium, we’ve seen — and made — most of the mistakes. Here are the ones that cost the most:
Using glass cutting parameters. Germanium needs lower wire tension and slower feed than most optical glasses. Running germanium at BK7 parameters almost always produces micro-cracks that only appear after polishing.
Insufficient coolant flow. The cutting zone must be fully flooded — not just dripped on. Germanium’s thermal sensitivity means even brief dry spots cause localized heating damage. Maintain 2–4 L/min of mineral oil covering both wire entry and exit points.
Ignoring wire condition. A worn diamond wire doesn’t cut less — it cuts worse. As diamond grit wears, the wire generates more friction and less cutting action, increasing heat and force on the germanium. Replace the wire before surface quality degrades, not after.
Skipping TTV checks. Thickness variation that’s invisible to the eye (10–15 μm) becomes a serious problem during precision lens grinding. Check TTV on every blank, not just random samples.
Clamping too tightly. Excessive clamping force on a germanium preform can initiate cleavage at the contact points. Use compliant pads (rubber or felt) between the clamp and the germanium surface, and tighten just enough to prevent movement.
From Blank to Finished Lens: What Comes Next
Germanium lens blank cutting is stage 1 of a 5-stage production process. After cutting, the blank progresses through:
| Stage | Operation | Equipment | Typical Time (50 mm lens) |
|---|---|---|---|
| 1 | Blank cutting | SGI 40 wire saw | ~31 min (contour + slice) |
| 2 | Centering & edging | C-120L centering machine | 1–3 min |
| 3 | Spherical grinding | G-100 grinder | ~10 min (both faces) |
| 4 | Polieren | Aspheric polisher | ~6 min (both faces) |
| 5 | AR coating | Vacuum coating chamber | Batch process |
| Total | (excluding coating) | ~50 min |
The quality of the blank directly impacts every downstream stage. A well-cut blank with Ra < 1.0 μm surface roughness and < 0.1 mm edge chipping requires minimal grinding stock removal, which means faster cycle times and higher yields through the entire line.
For manufacturers evaluating their complete infrared optics manufacturing equipment needs — from blank cutting through coating — the cutting stage deserves disproportionate attention. It’s the lowest-cost step in the production line, but it has the highest leverage on overall yield and material efficiency.
Die Quintessenz
Germanium lens blank cutting isn’t complicated — it’s precise. The difference between a good blank and a scrapped one often comes down to 10 N of wire tension, 2 mm/min of feed rate, or 0.5 L/min of coolant flow. The physics of germanium crystal don’t forgive approximation.
If you’re processing germanium for thermal imaging, defense, or industrial IR applications, invest in getting your blank cutting process right before optimizing anything downstream. The material savings alone — from reduced kerf loss and lower scrap rates — will pay for the effort many times over.
Need to validate your germanium blank cutting parameters? We offer sample cutting trials — send your germanium material and we’ll demonstrate the process on our production equipment.